Create Your First Workflow
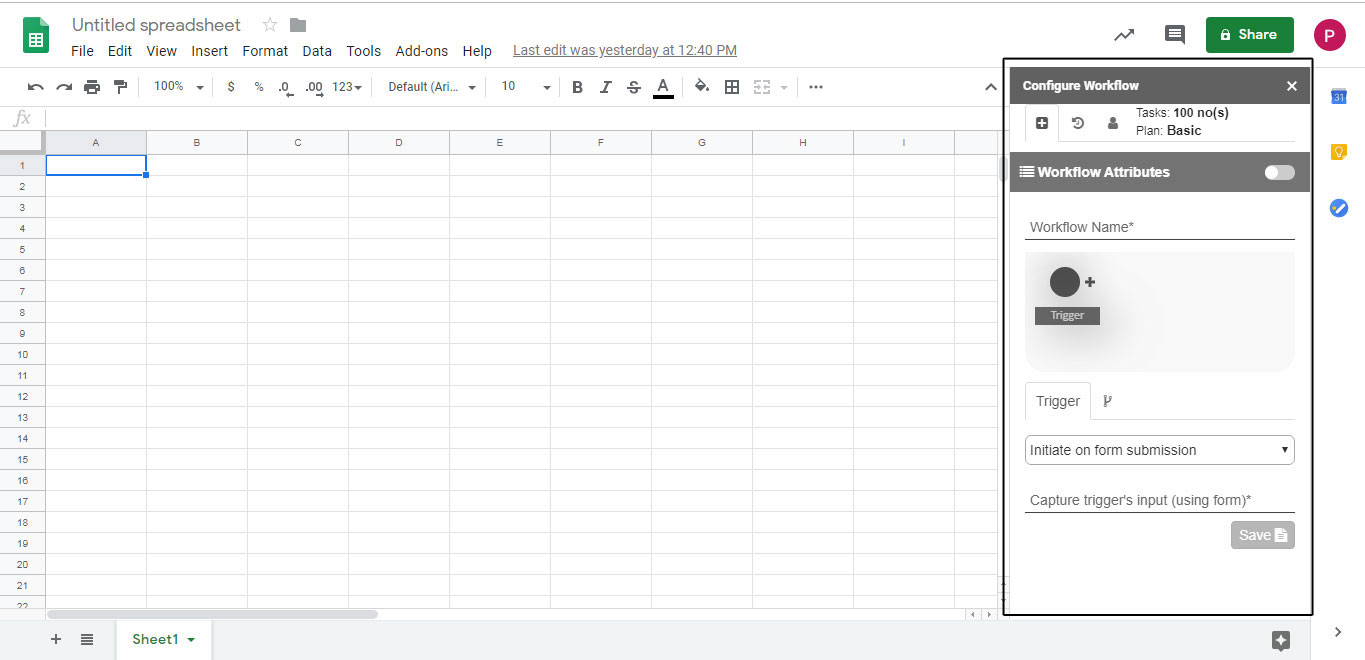
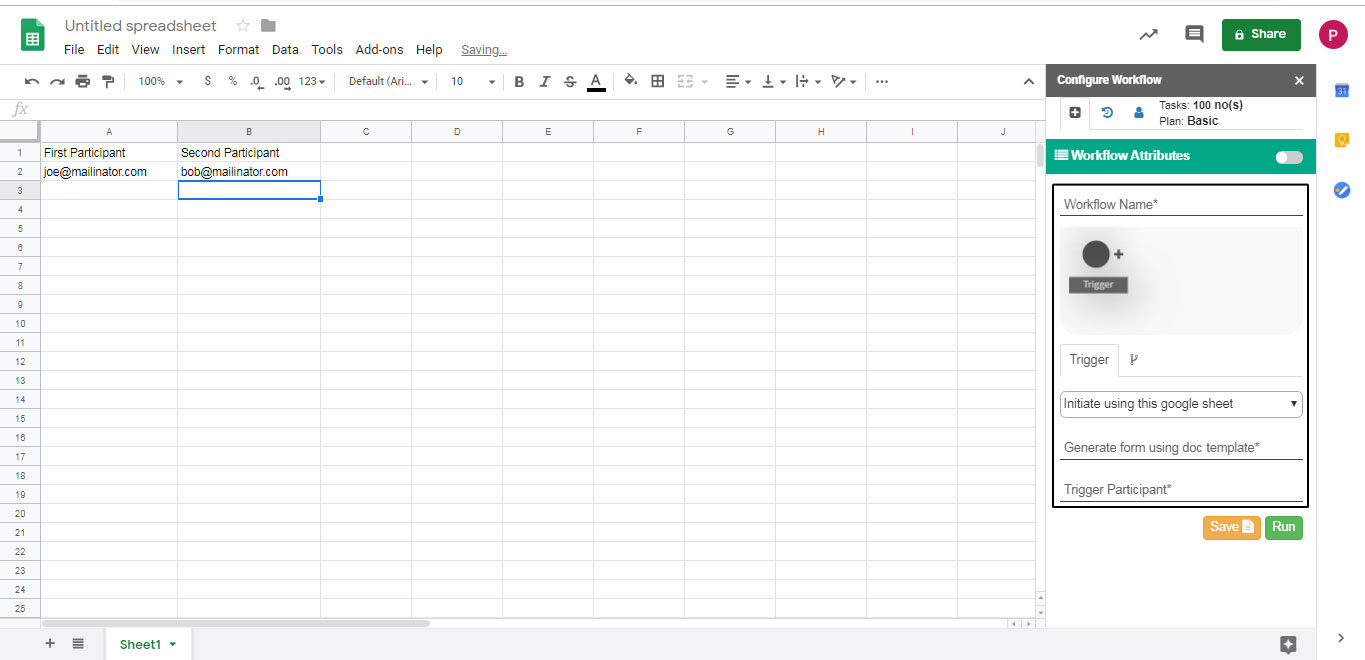
"Configure Workflow" popup will appear on the right side of the sheet after configuration. Prepare the source data, refer to “How to prepare data” mentioned below these steps.
Create datasheet according to your requirements.
You can view three horizontal tabs on the top i.e. "plus" icon represents add workflow attributes, "timer" icon represents workflow history and "user" icon represents user settings.
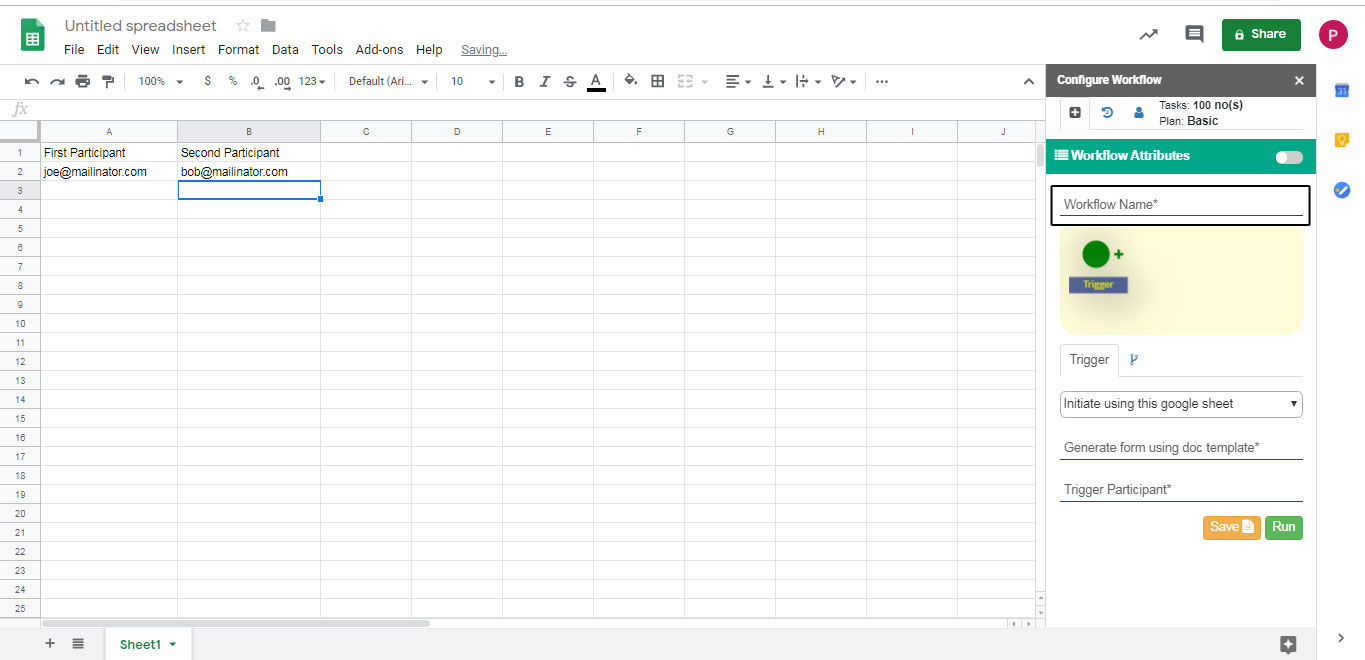
You can add workflow attributes by entering workflow related details like Workflow Name, Workflow Process, when to Trigger, how to trigger and its related information.
In Workflow Name you have to enter the name which you want to give to your workflow.
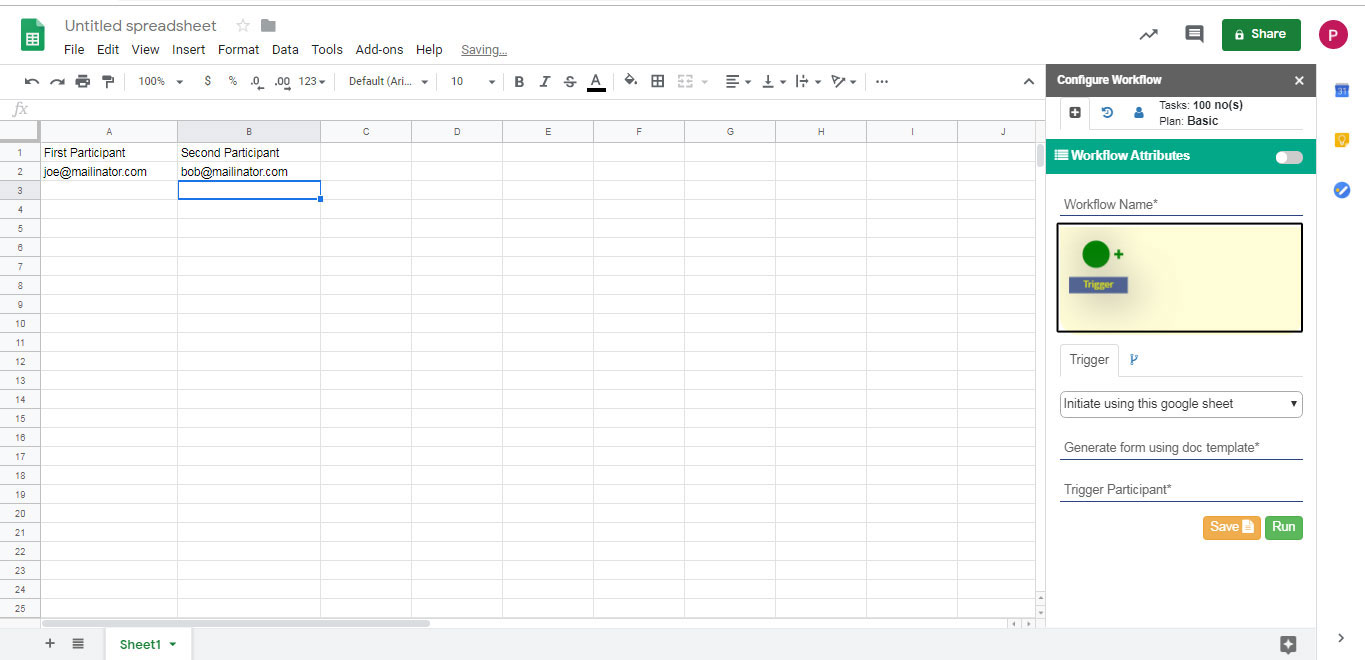
In Workflow Process you can add steps of the workflow and their respective details.
There are again two horizontal tabs i.e. trigger and workflow routing icon. In trigger, you can fill the trigger related details (explained below) and in next tab, you can find new route condition.
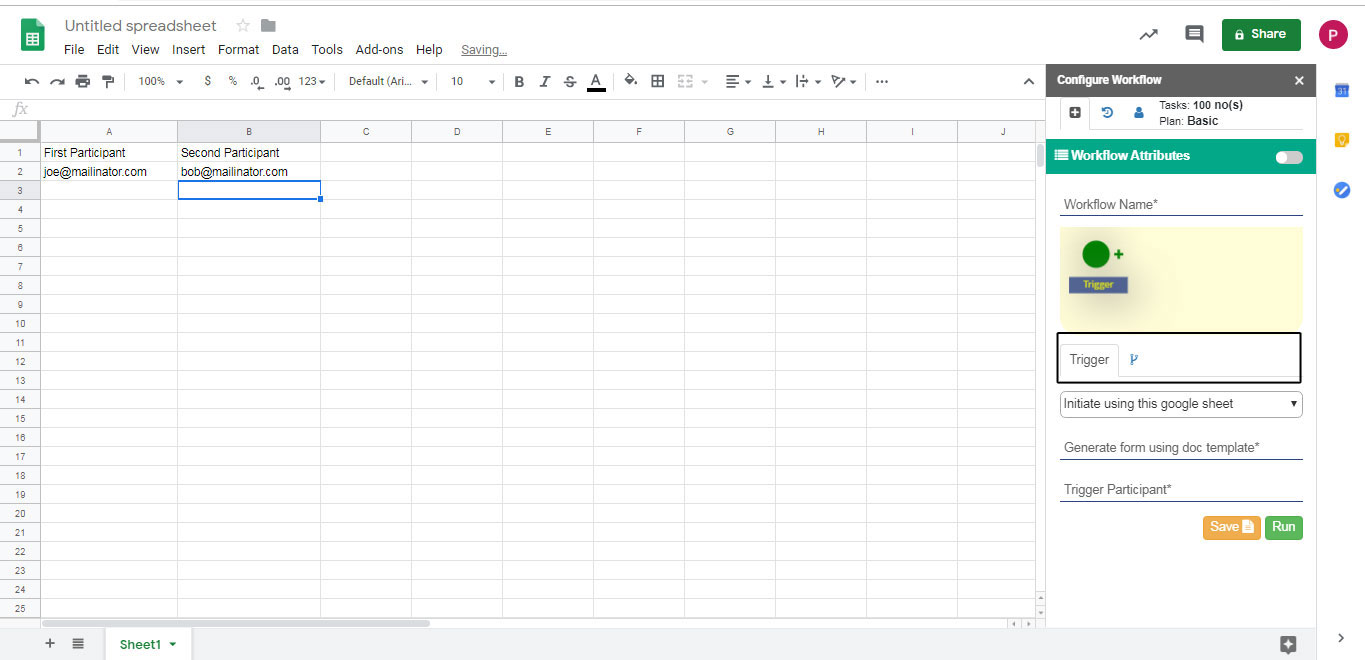
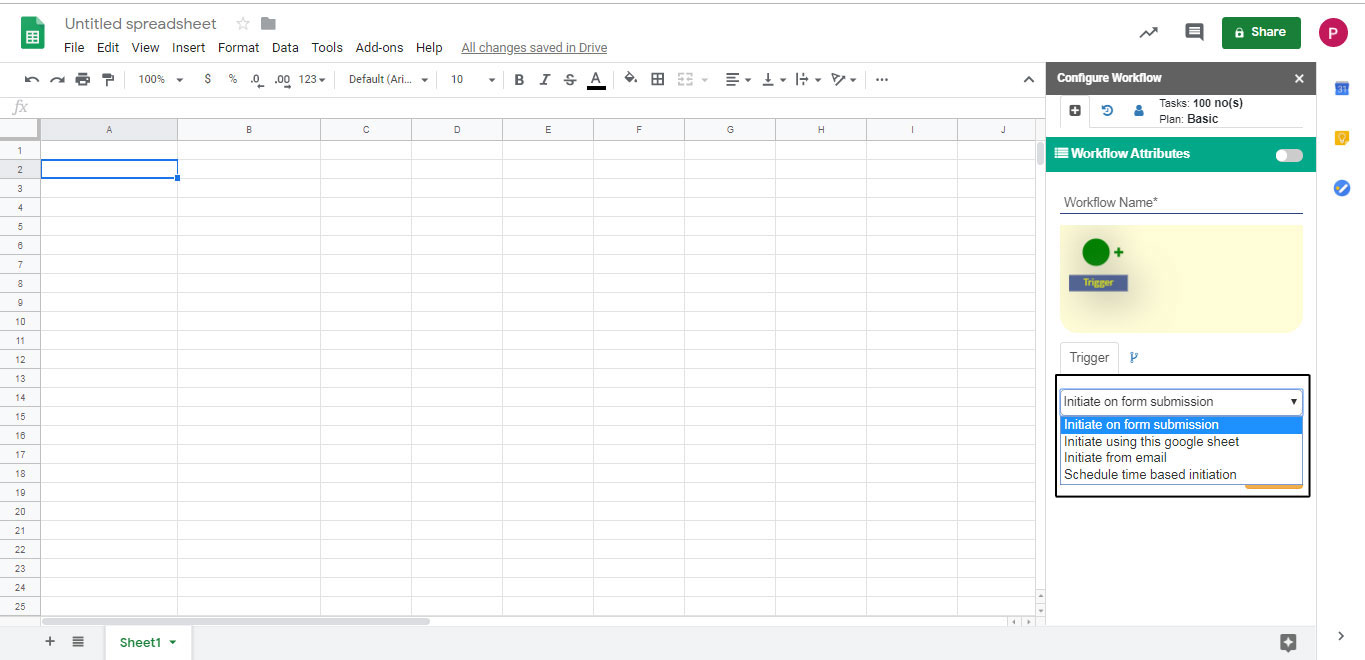
In trigger, you can choose trigger condition between -
(a) "Initiate on Form Submission" is a type of trigger in which you will work on any existing google form™ of your account, for example - Leave apply form.
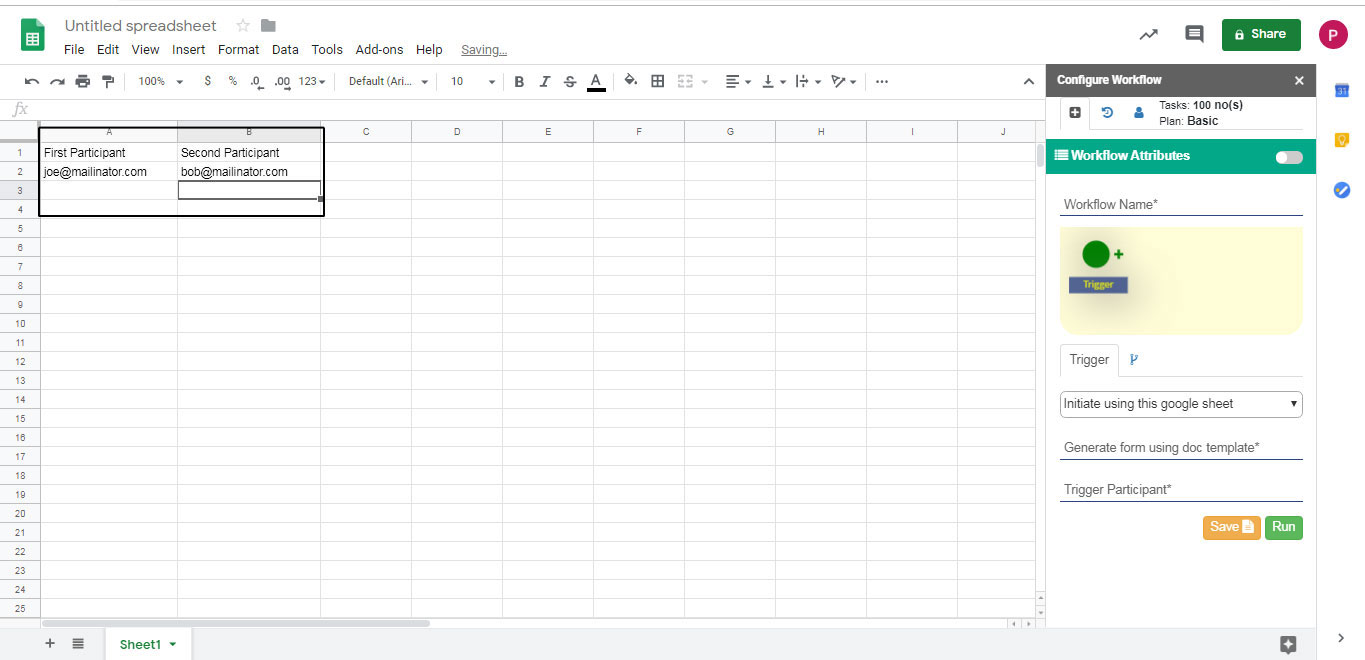
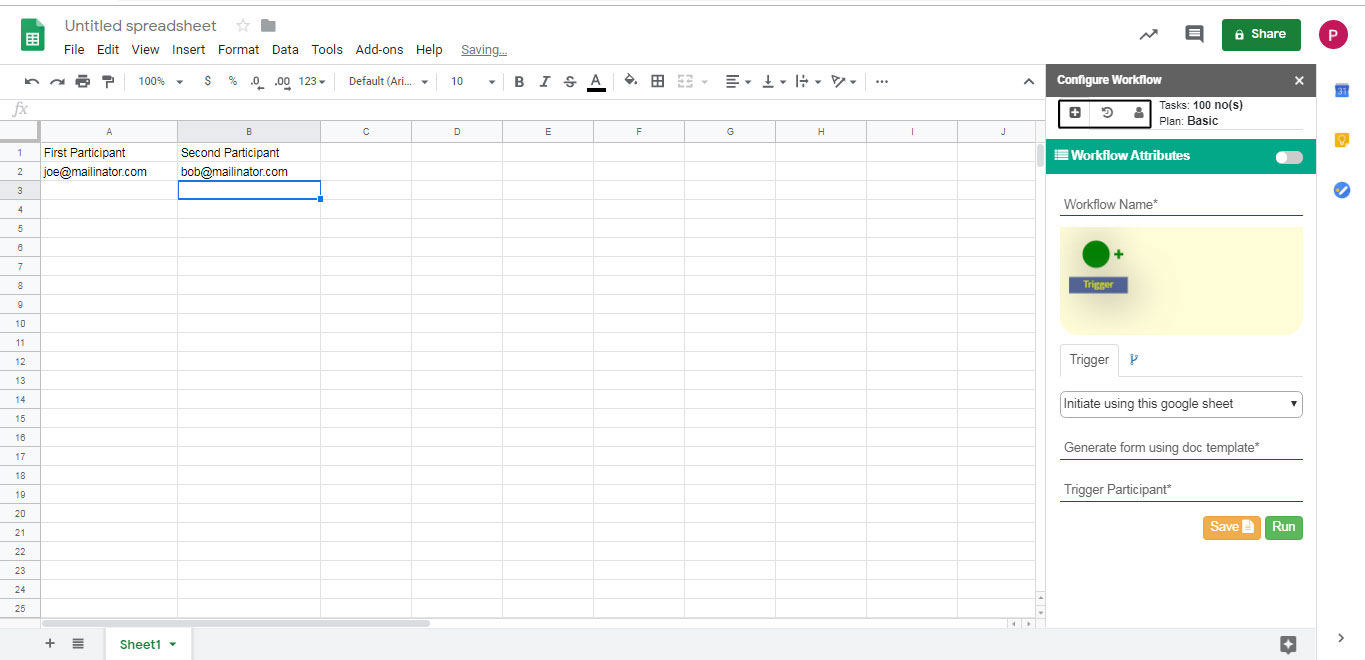
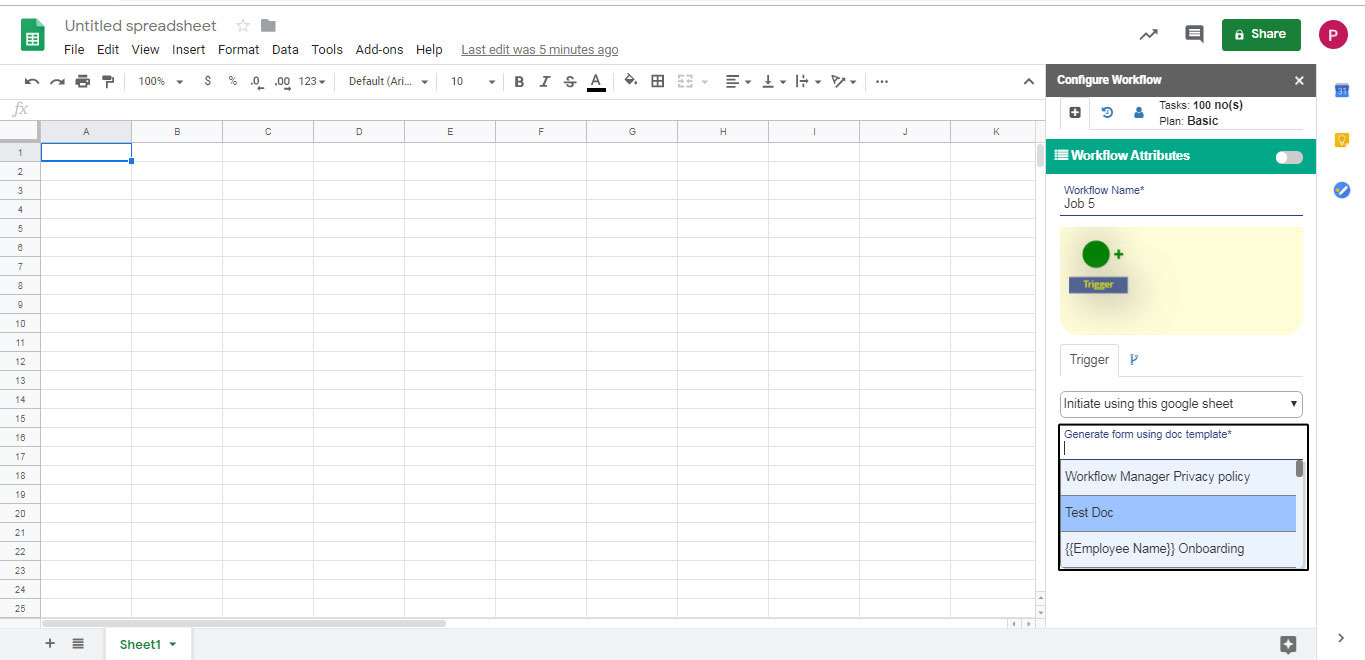
(b) "Initiate Using this Google Sheet™" is a type of trigger where you will use the document template in which you have defined the variables, using which form will be generated. It helps in generating different forms for every participant in different steps, for example - Employee Onboarding.
(c) "Initiate using Email" is a type of trigger in which you can use email template having variables which is saved in your draft and then workflow initiates accordingly, for example - Expense Management.
(d) "Schedule Time Based Initiation" is a type of trigger which works as "Google Sheet™ trigger" except in this, you can set time period like daily, weekly, monthly or yearly for any workflow and it will generate it automatically according to the time period you set, for example - Payroll Management.
Note: For detailed information about triggers, go to its respective page under triggers tab.
In "Generate form using Doc Template", you can select doc template for creating form dynamically.
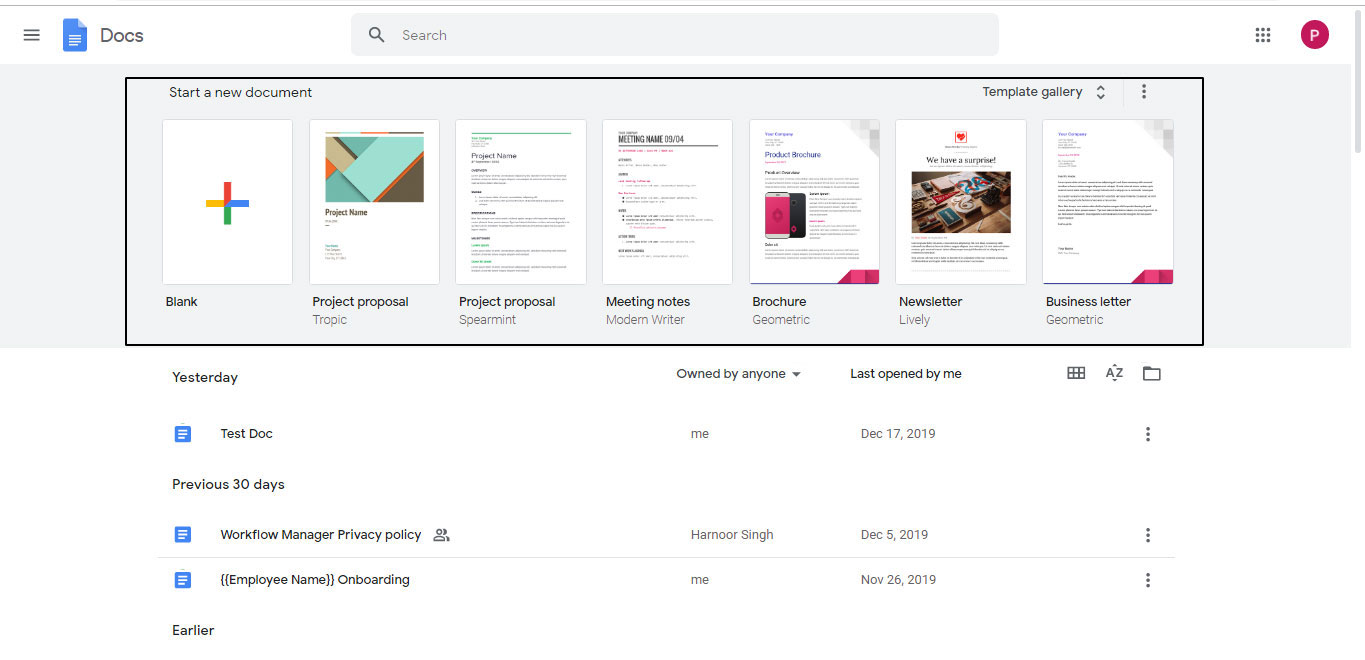
Go to your gmail account. Click on grid icon present on the top right of your gmail account. Then click on Docs.

You can click on blank doc or open an existing one.
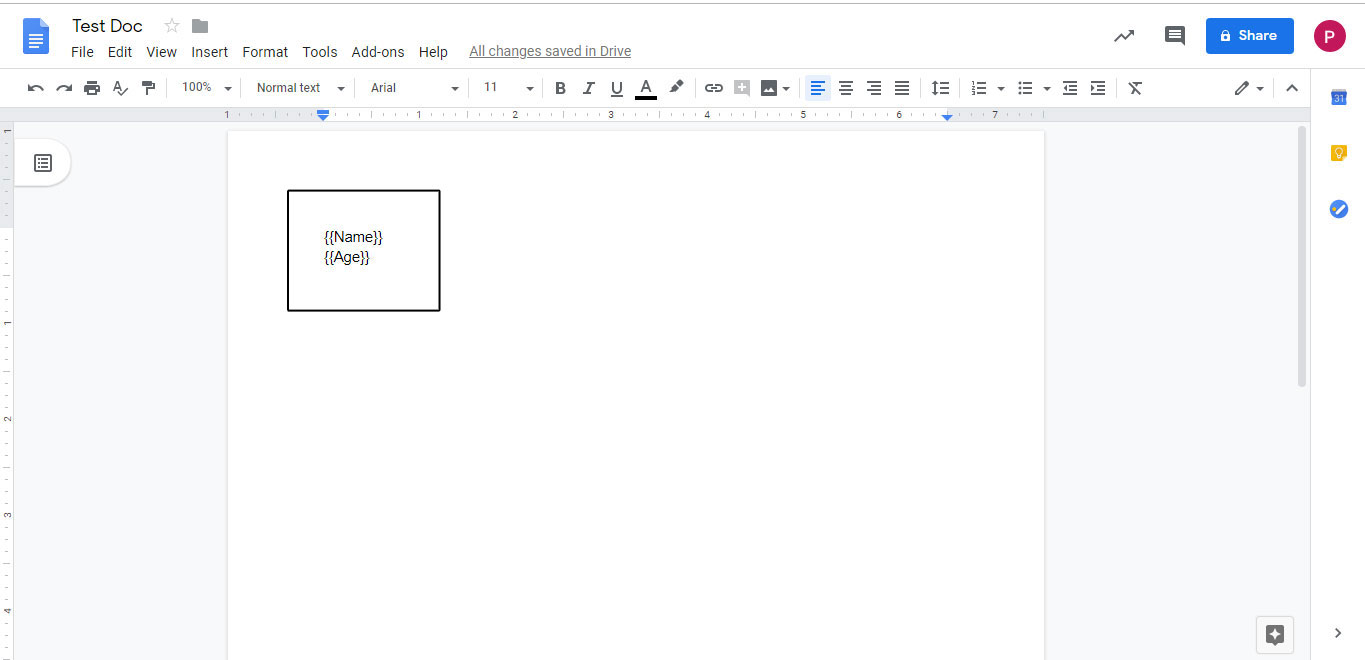
You have to mention variables in double curly braces. Then, the form is created on the basis of variables present in the doc file.
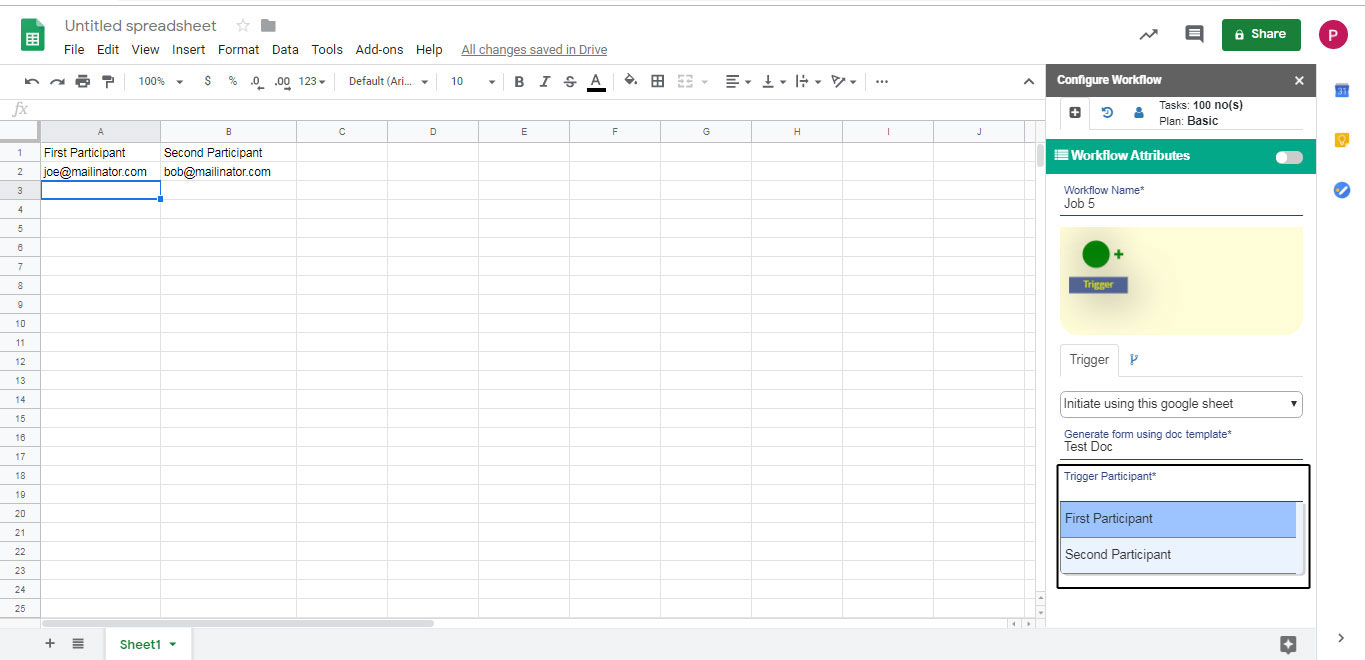
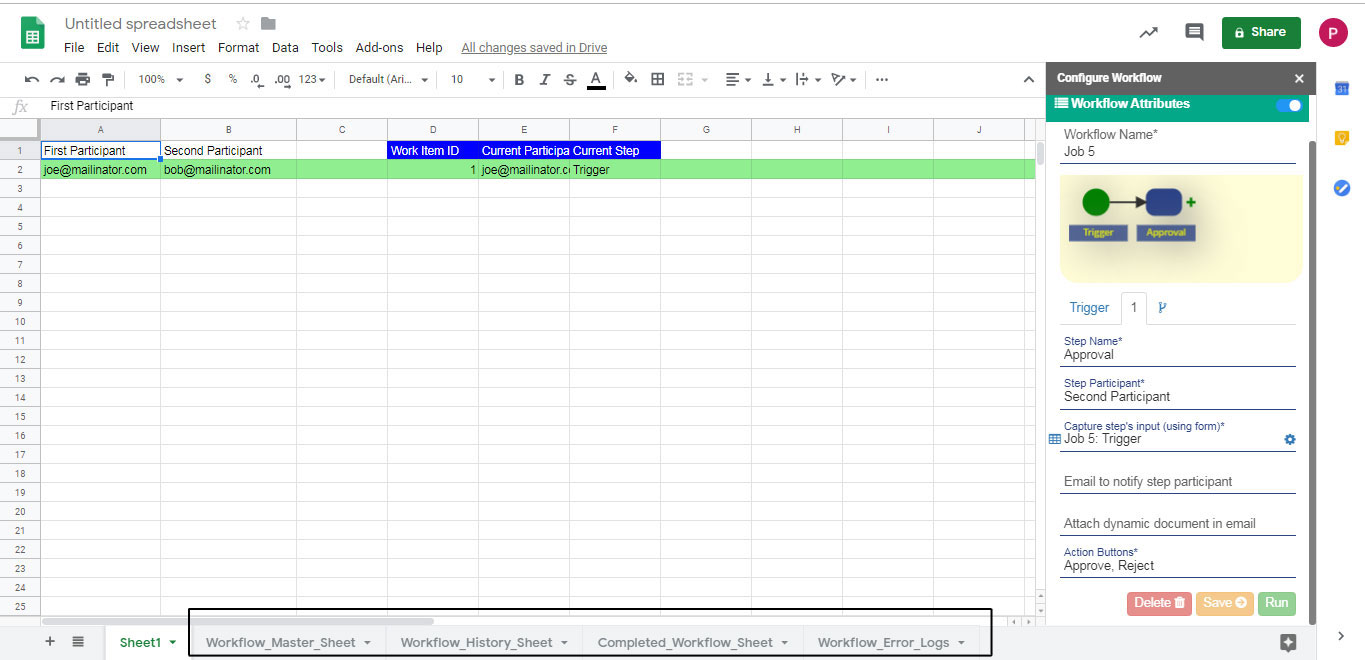
In "Trigger Participant" you can select the column from your sheet which contains the email id of first participant.
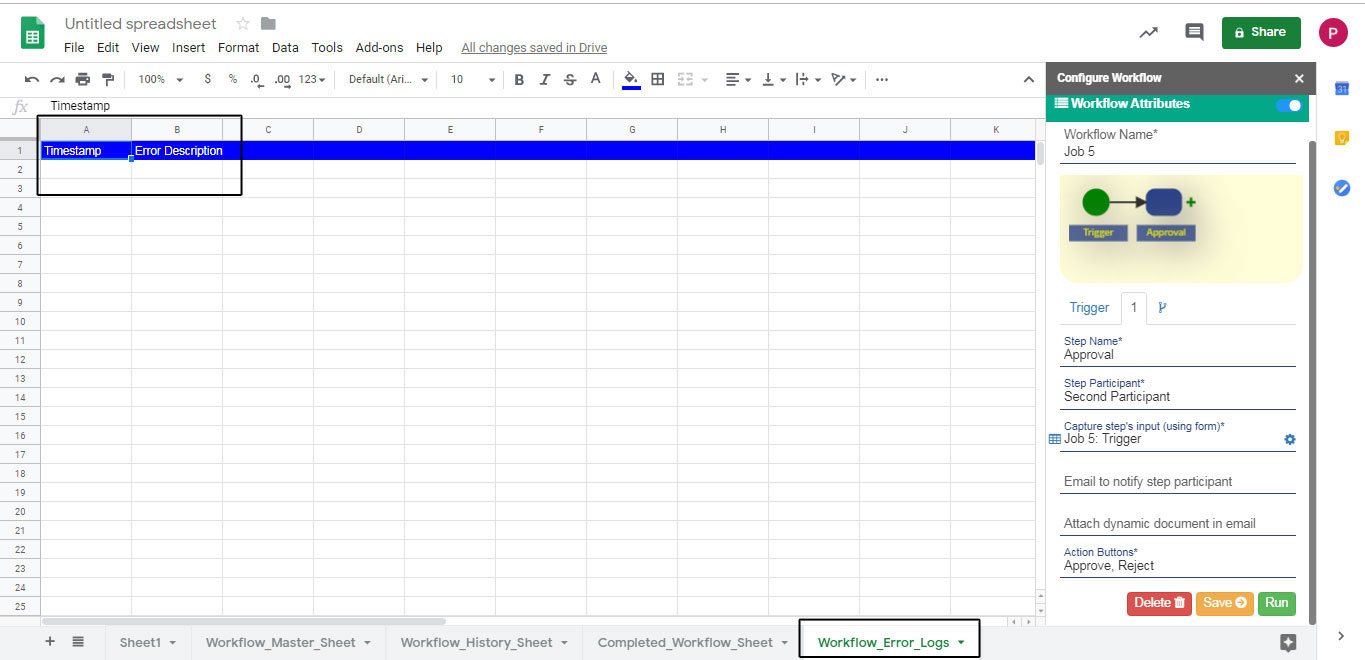
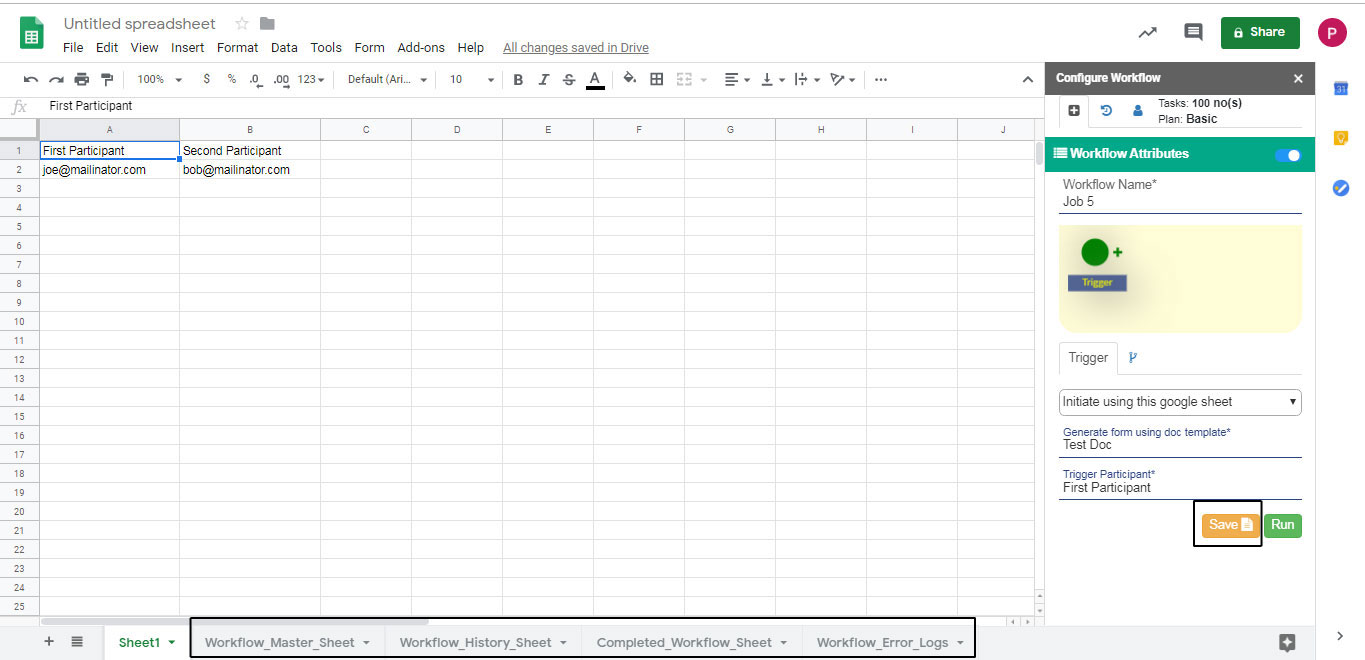
Click on Save, to save to details and creates 4 sheets i.e. Workflow_Master_Sheet, Workflow_History_Sheet, Completed_Workflow_Sheet and Workflow_Error_Logs.
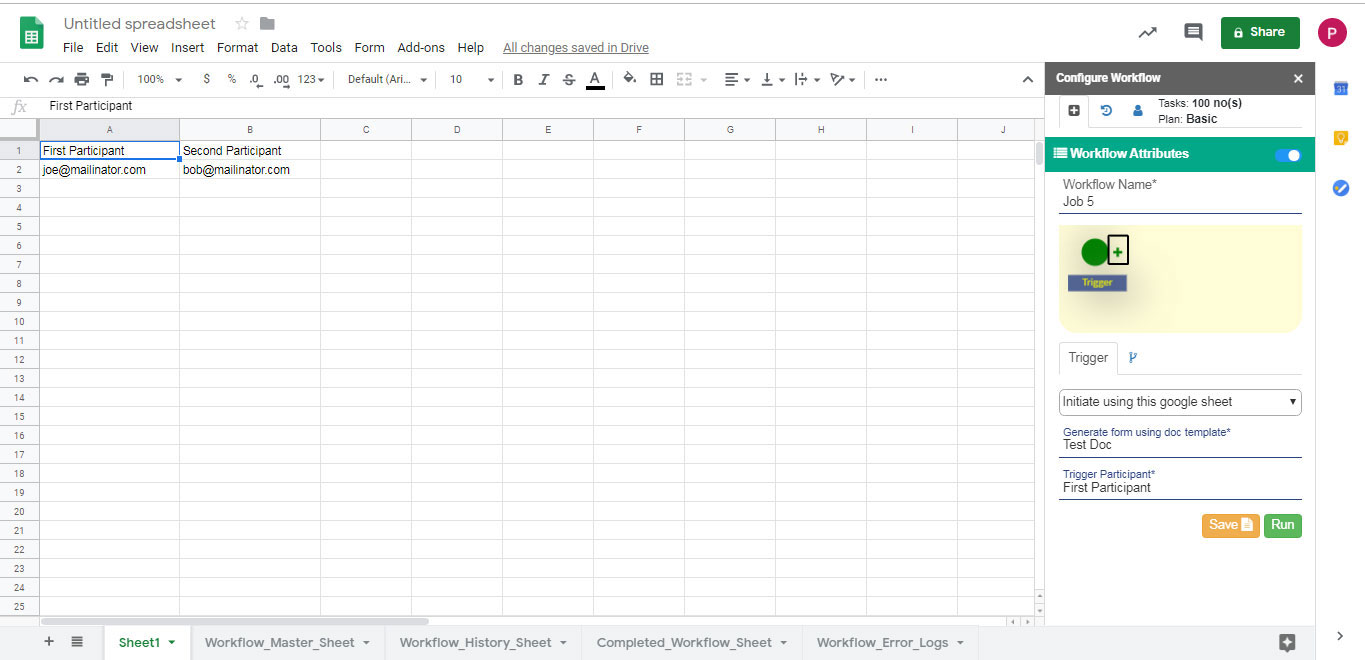
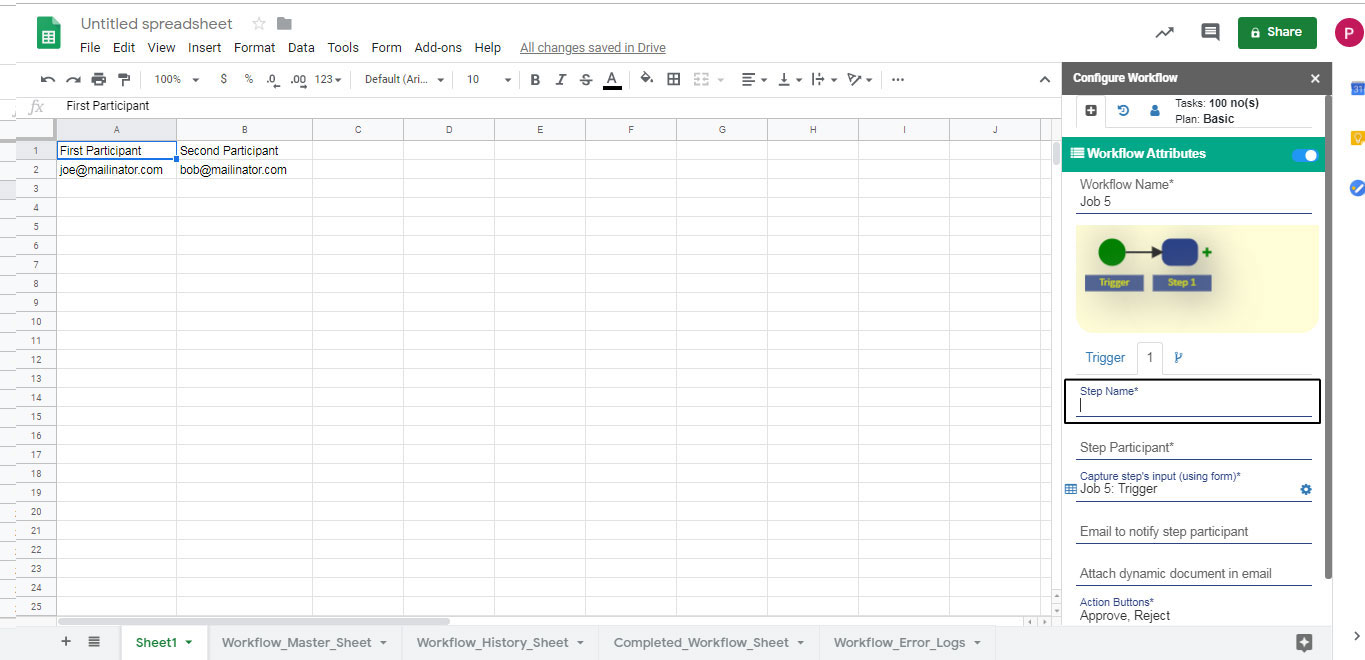
You can click on plus icon to add new step in the workflow.
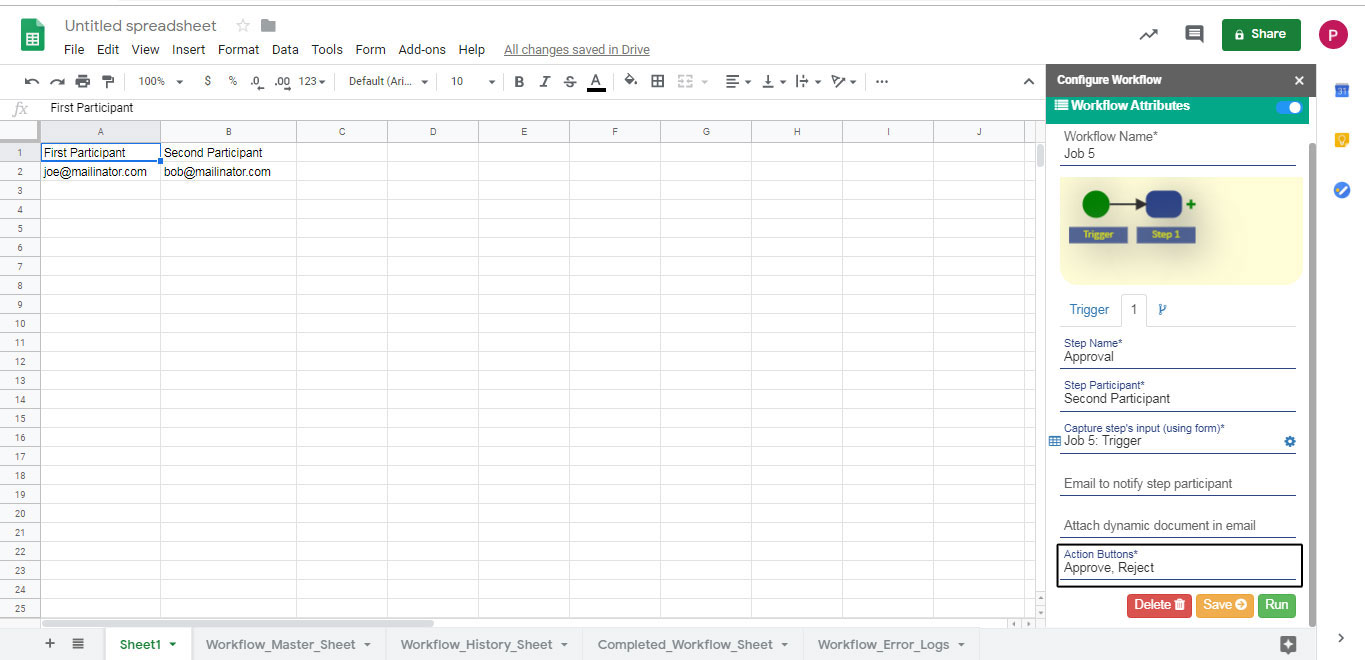
Then, you have to add its details like Step Name, Step Participant, Capture Step's Input, Email to Notify Step Participant, Attach Dynamic Document in Email, Action Buttons.
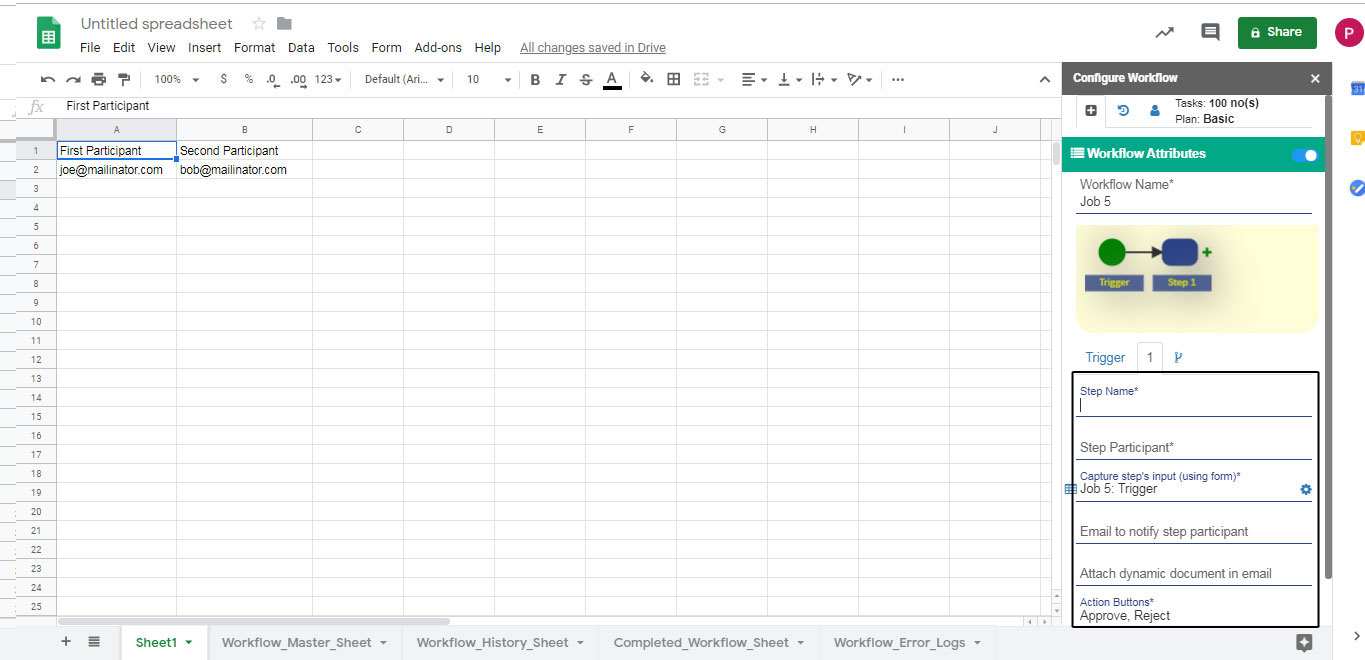
In Step Name, mention the name which you want to give to step. For example, you set name to "Approval" because you want somebody to approve your form.
In Step Participant, select the column name from your sheet which contains the email id of step participants. For example, in this you have to mention the email of the participant from whom you want the approval for the form.

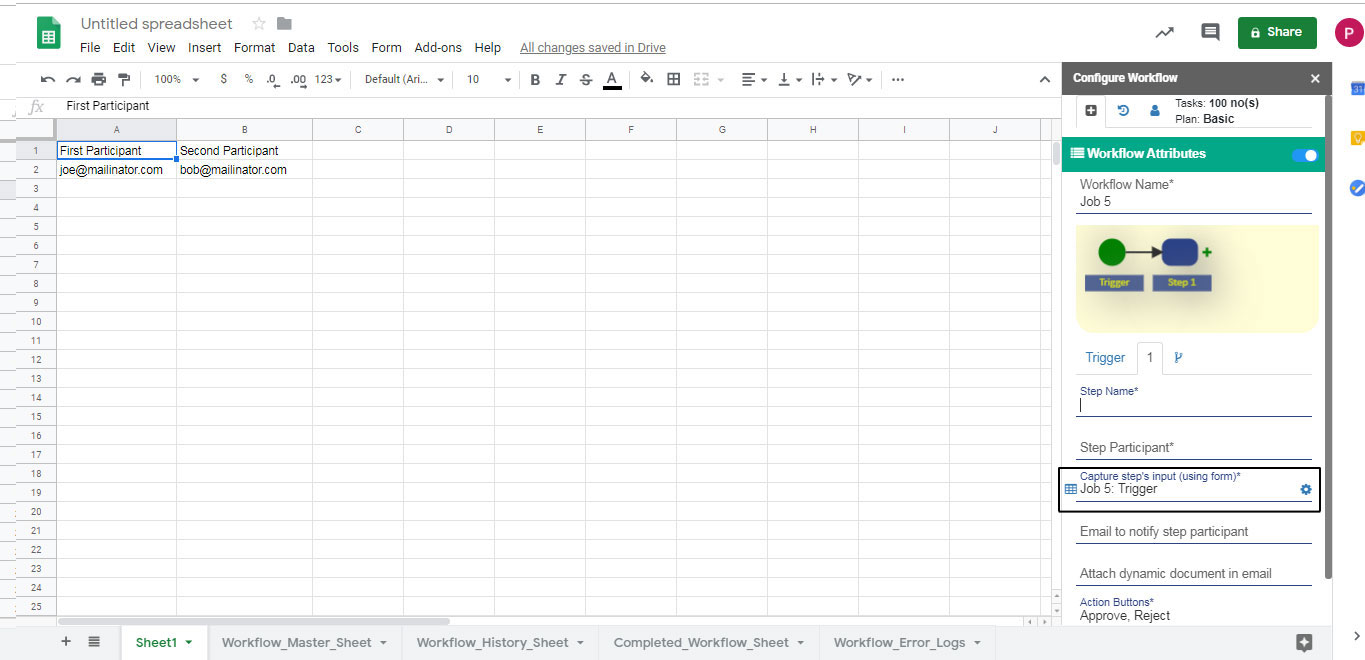
In Capture Step's Input, select the form which will sent to step participant.
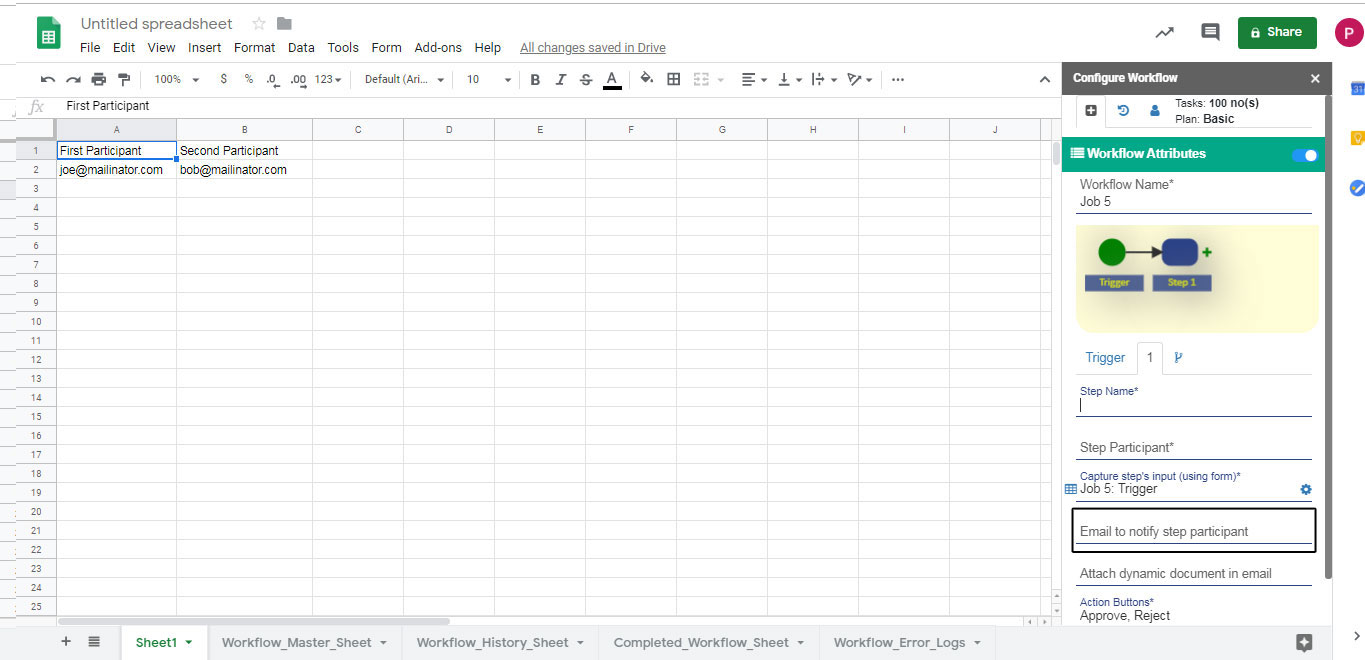
In Email to Notify Step Participant, you can send an email to any other step particpant to notify about this step.
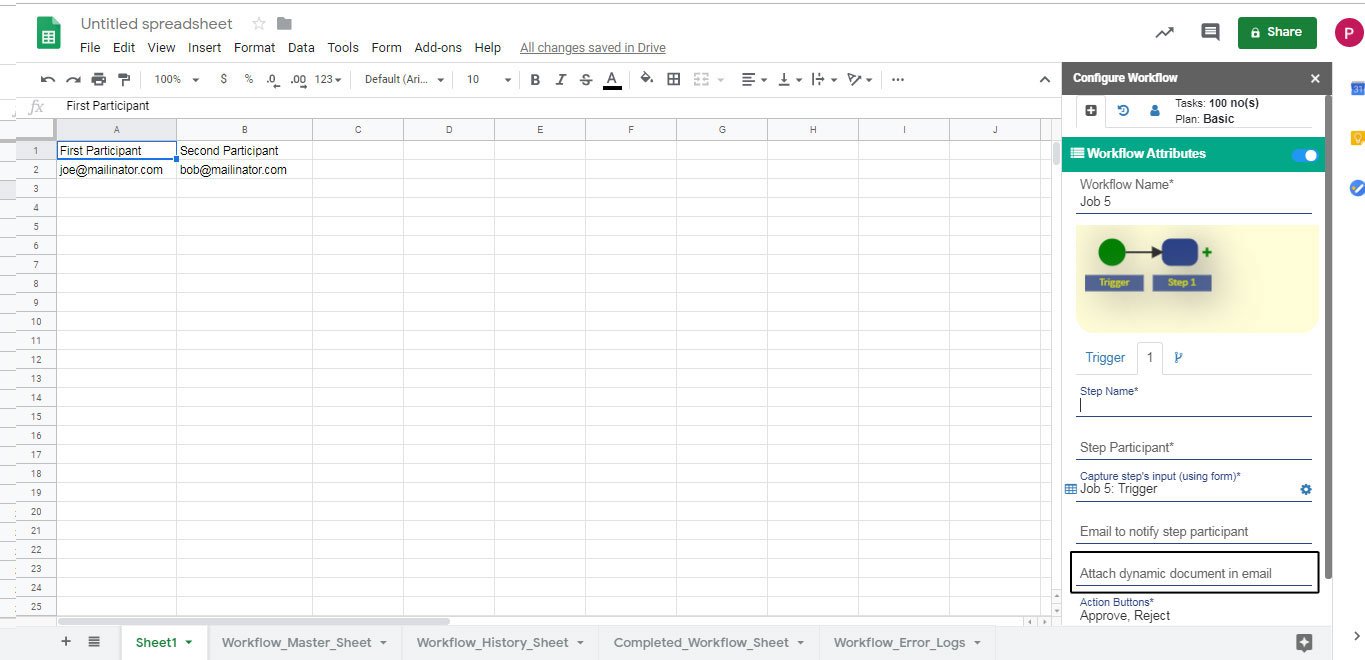
In Attach Dynamic Document in Email, you can attach the document which is present in your google docs™ to send it along with the form for knowledge.
In Action Buttons, you can select buttons for the form for step participant depends on the actions you want participant to perform. For example, "Approve", "Reject", "Hold".
Click on Delete, to delete to the step.

Click on Save, to save to details.
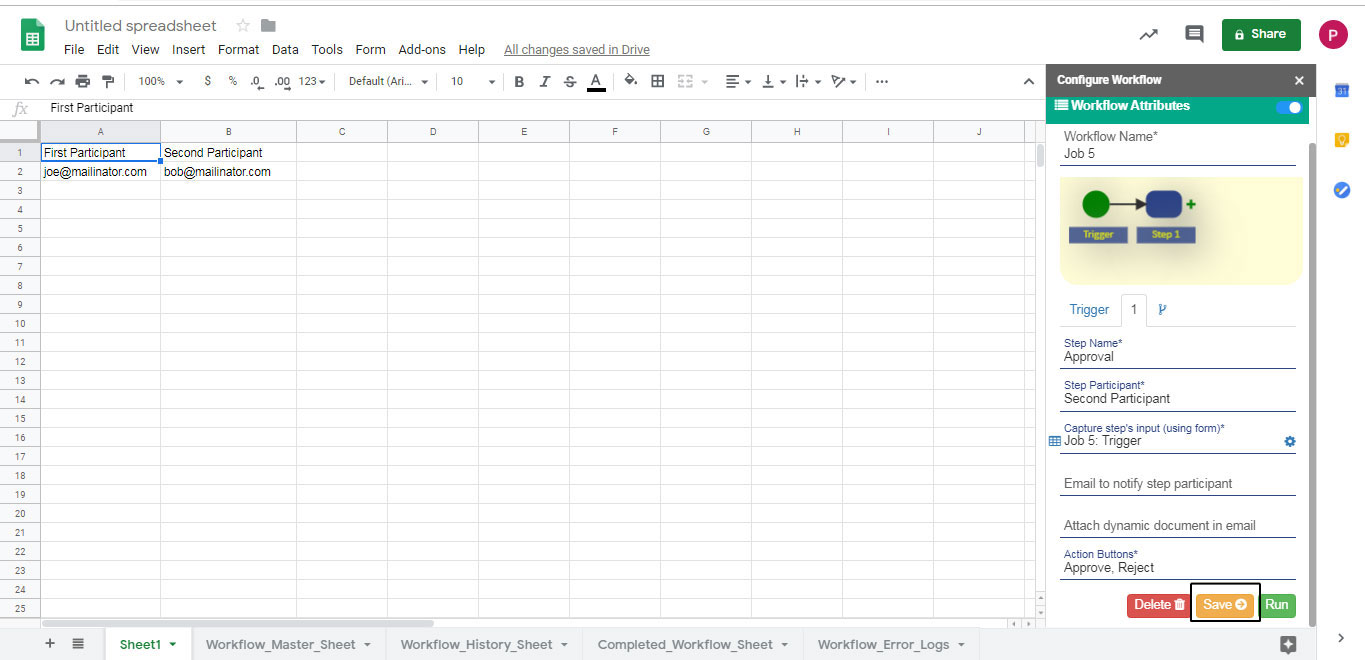
Click on Run to run the workflow.

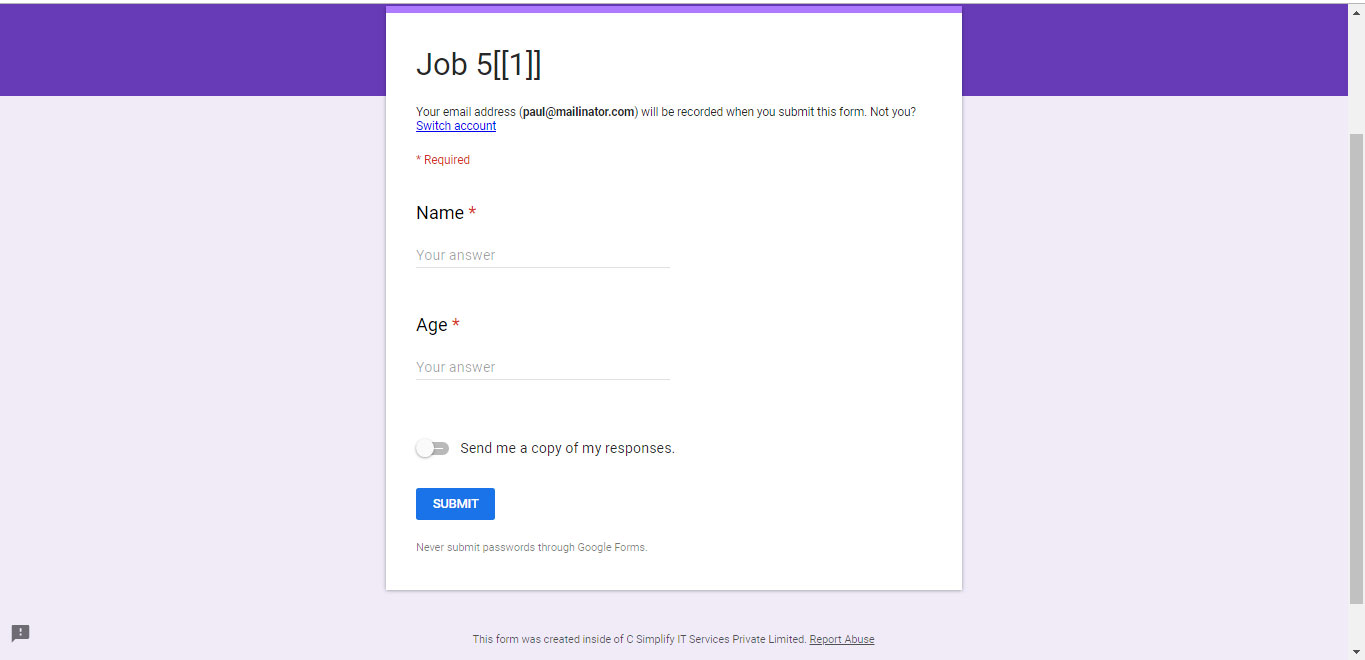
When you click on Run, it automatically sends email to first participant. Check the email account of whose email ID is given in the first participant column. Click on the form link present in the email.
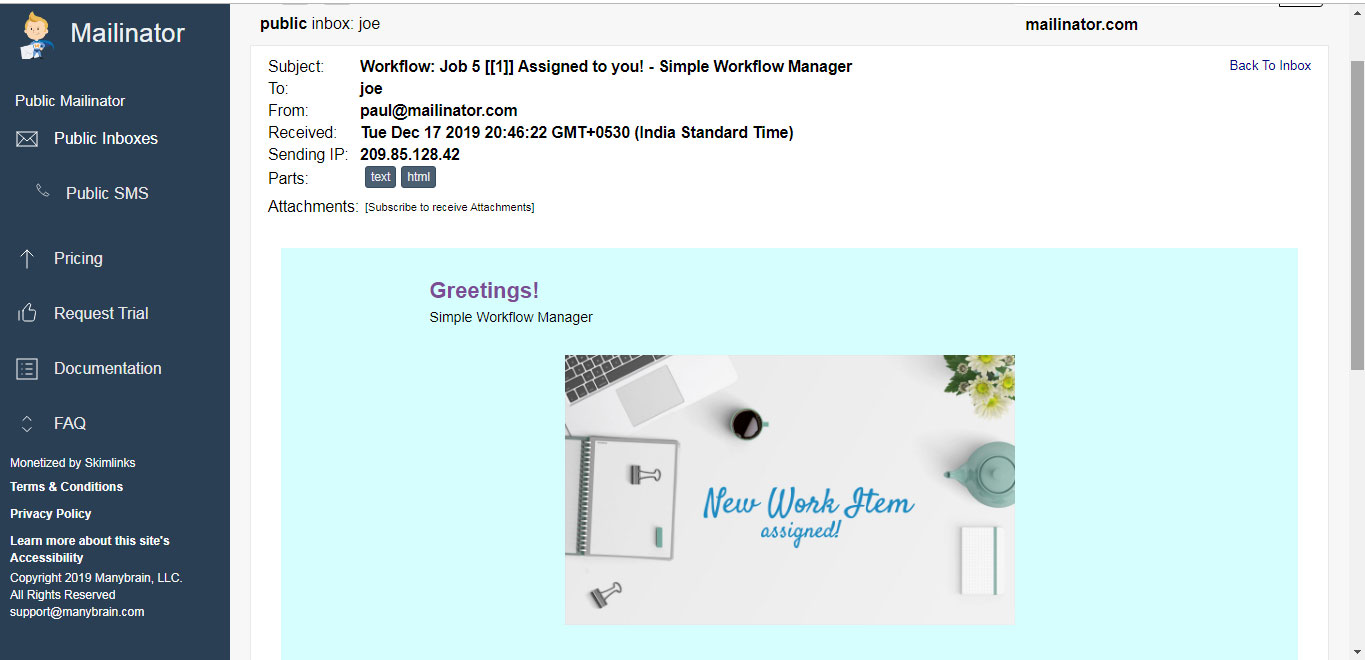
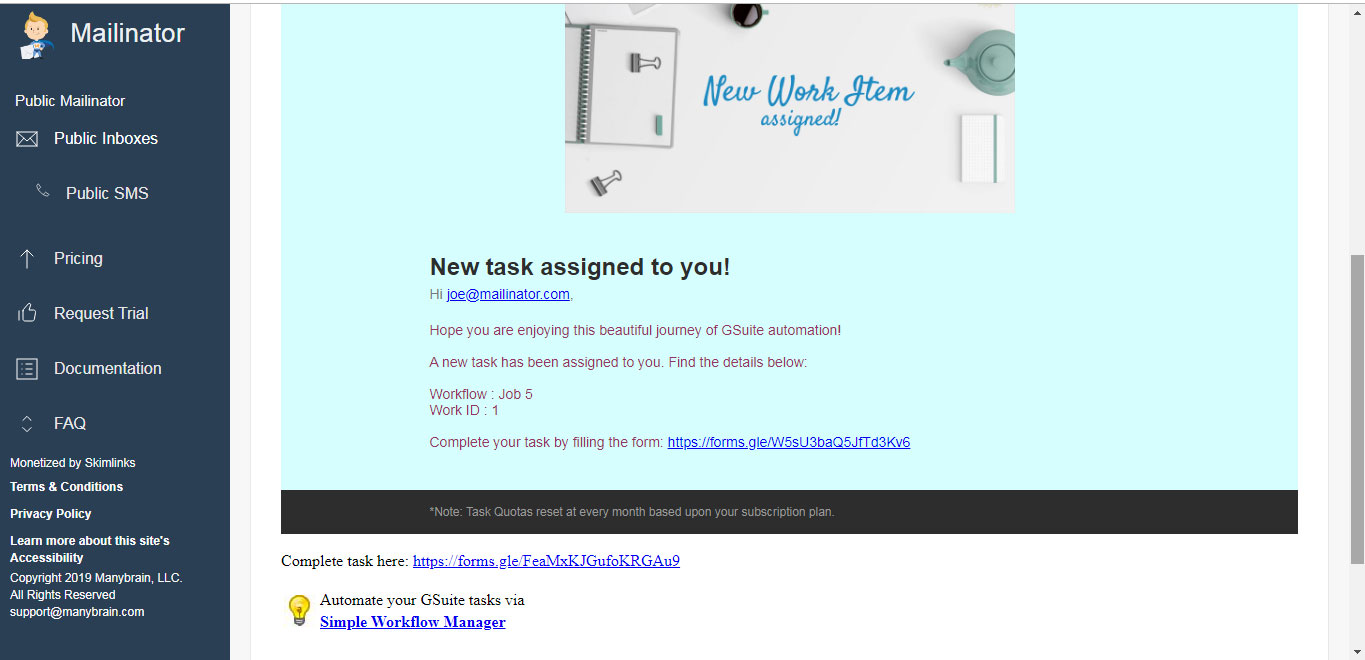
A blank form opens with the input fields that are present in the doc file as variables in double curly braces whose reference you have given in the "Generate Trigger from using Doc Template".
Fill the following details and click on Submit button.
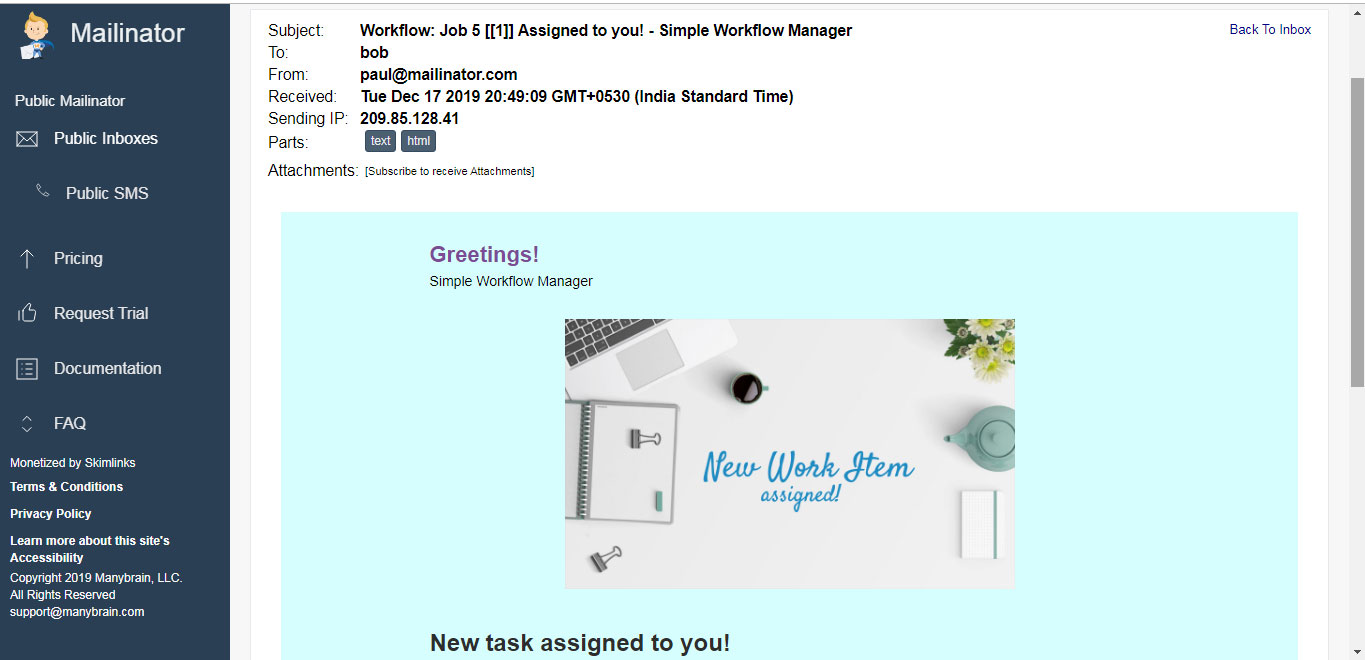
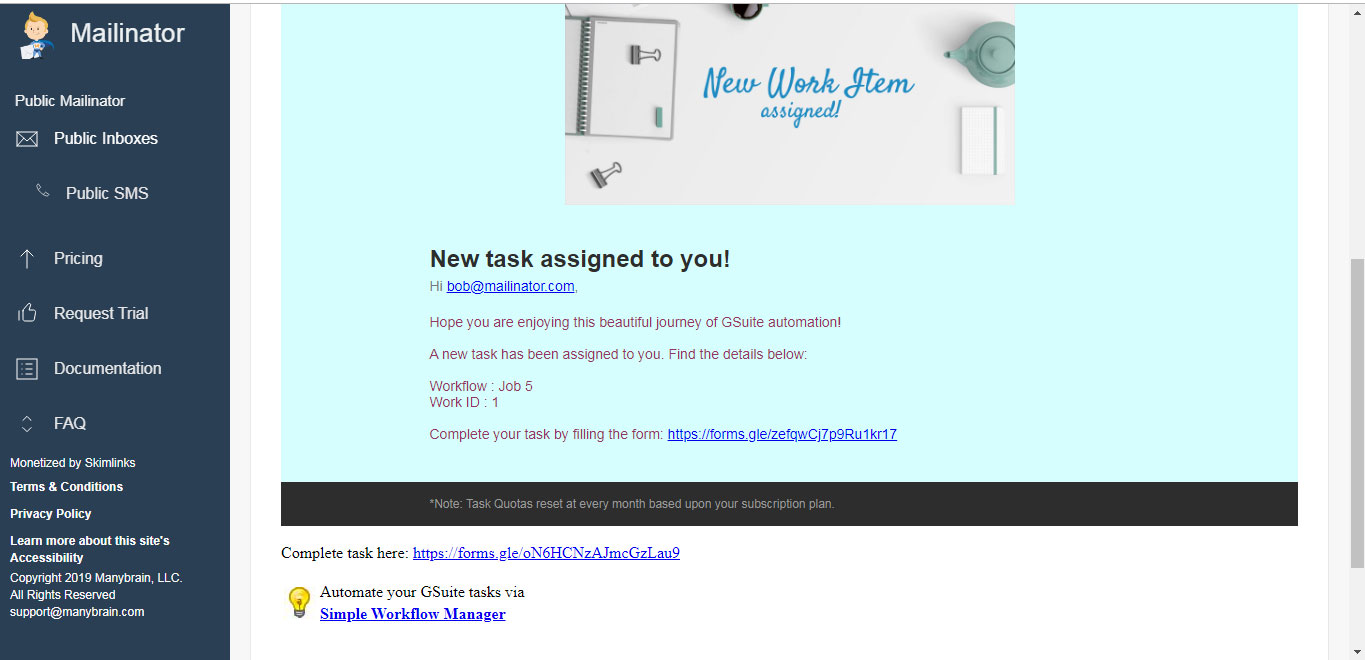
Then email has been sent to step participant and then click on form link to complete the further workflow process.
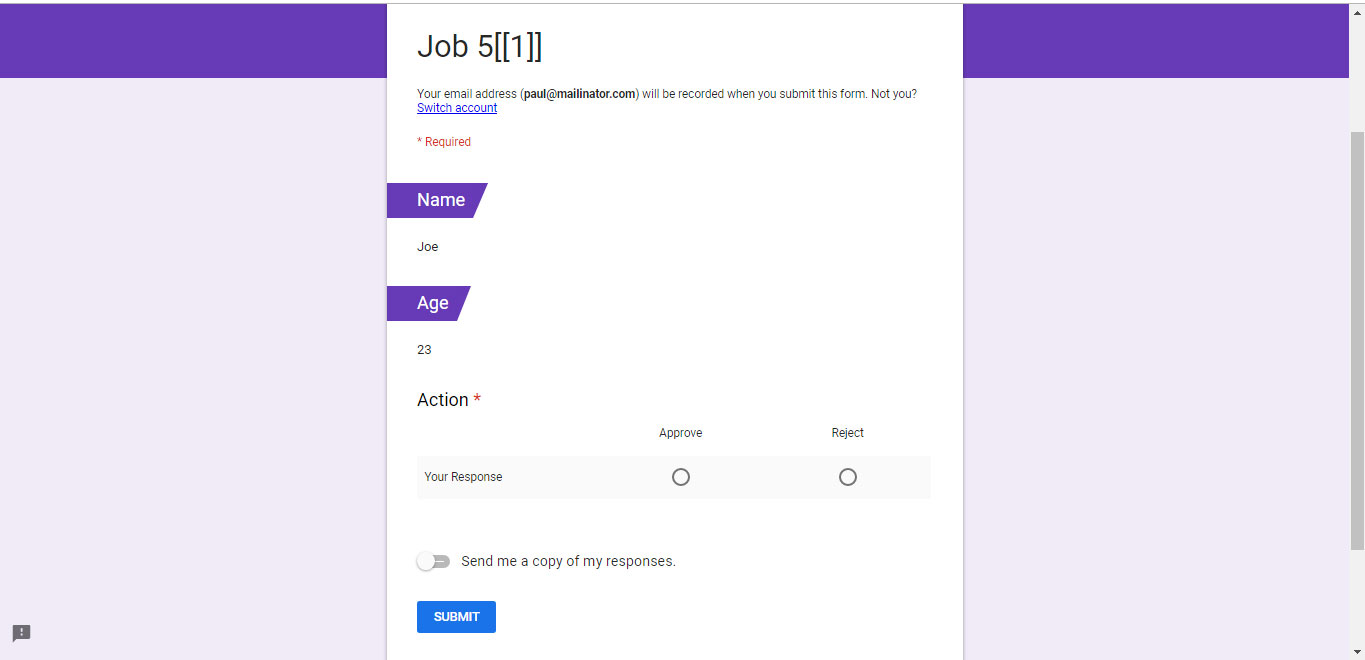
Check the form details and perform your action whether to approve or reject accordingly. Click on Sunmit button.
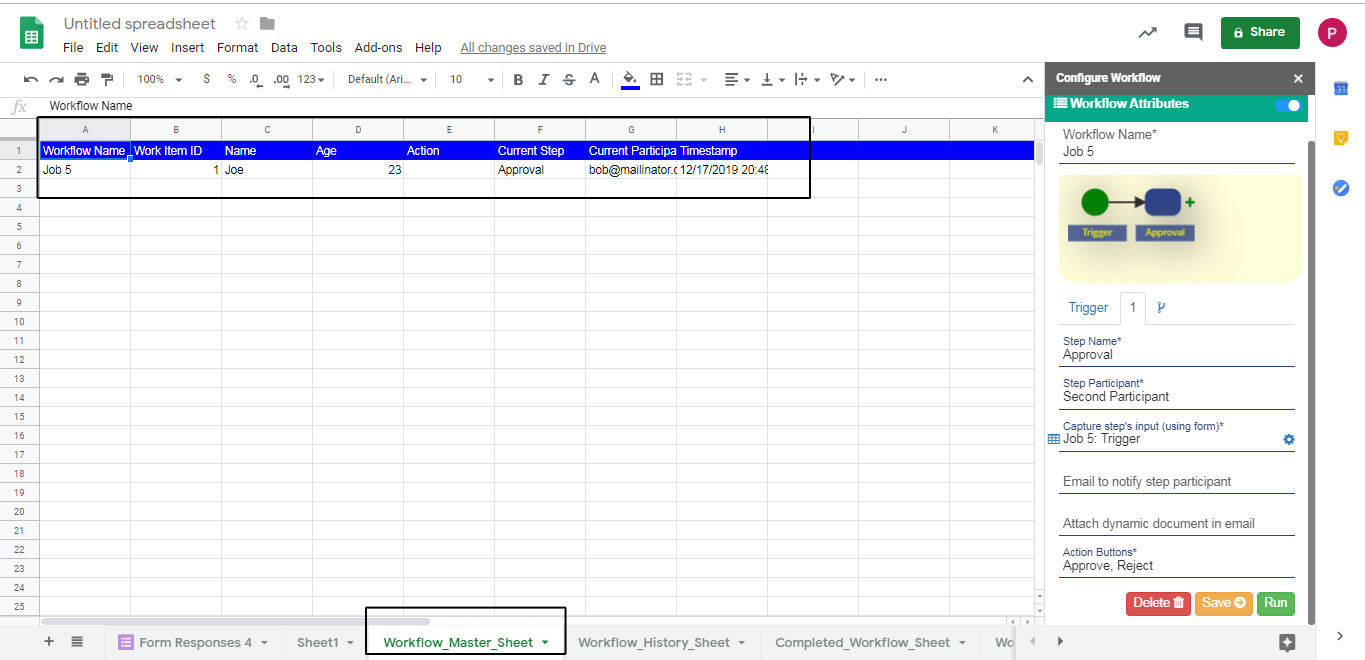
You can find that the four sheets which were created while you save the details of trigger has been filled automatically. Those are as follows:
1. "Workflow_Master_Sheet" which gives you all the information in one sheet.
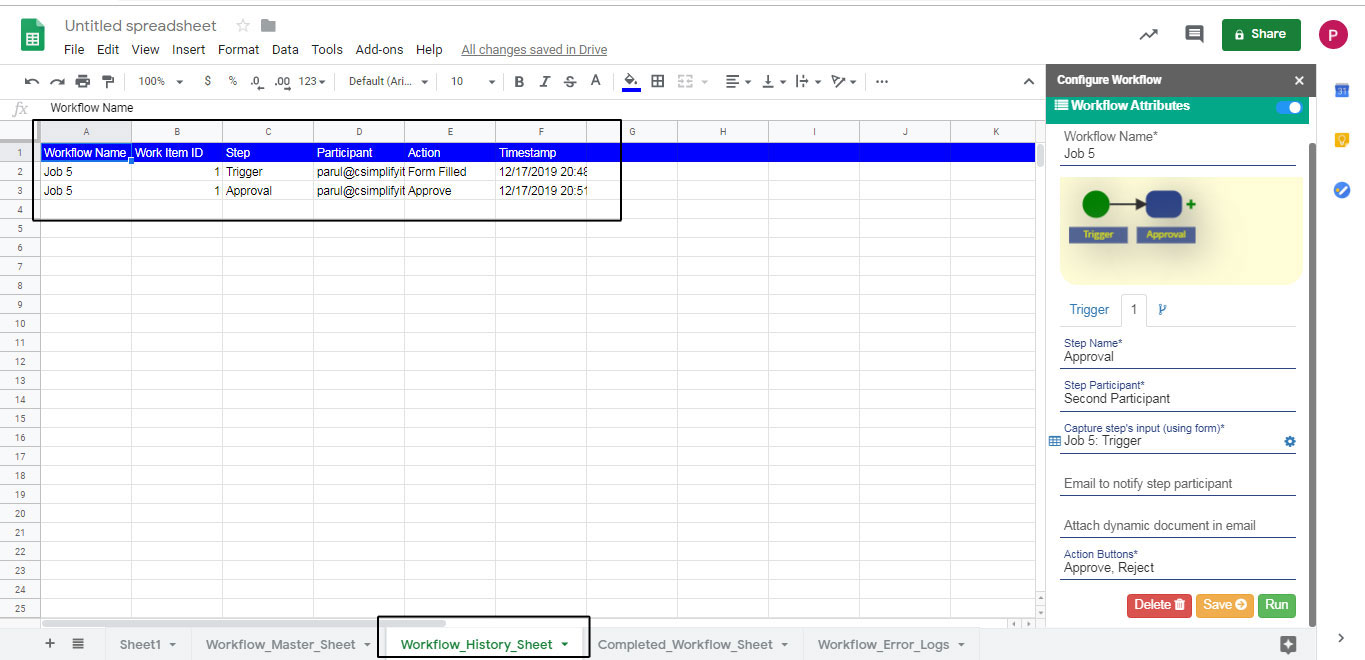
2. "Workflow_History_Sheet" which provides you the history of the workflow like Workflow Name, Work Item ID, Participant, Action, Time Stamp.
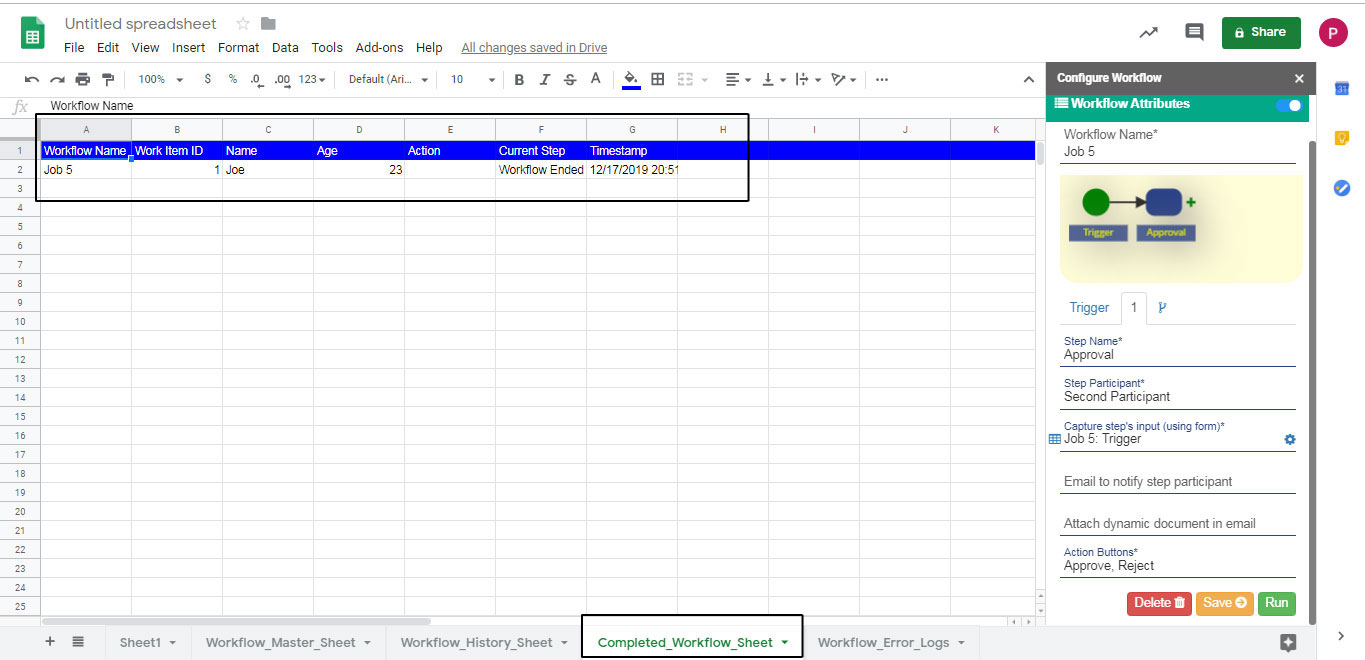
3. "Completed_Workflow_Sheet" is the sheet where all the completed work items are stored.
4. "Workflow_Error_Logs" is the sheet where you find the errors come in between the workflow.